
Add, Edit, Copy, or Delete Views
When you are adding views to your SecureSheet initially, you will follow the design you have laid out in the Views tab of your Users-Views file.
TIP: If more than one of your views share similar properties, after you add one of them and set up its properties (e.g., column settings and filters), it may be helpful to use that view as the base for the other views by copying it to a new view.
Quick links:
- Add a new View
- Copy an existing View
- Edit an existing View
- Change the Name of a View
- Delete a View
- Modify View Properties
Adding a New View

- Click Add Views to create a new view.
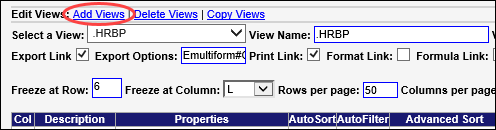
- Enter a name in the View Name: field and click Add View.
NOTE: If you have more than one view to add, repeat Step 4 for each new view.

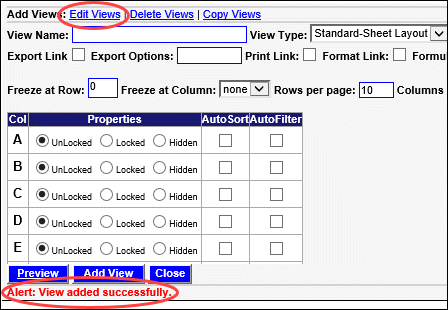
- Click Edit Views to open the view properties and edit as needed.
NOTE: Security filters must be added to the new view and tested.
OR
Click Close to leave View design mode.
Copying an Existing View
- Click Copy Views to copy an existing view and its properties to a new view.

- The "Alert: View added successfully" message will appear.
- Select the view you want to copy from the Select A View to Copy: drop-down.
- Enter the name for your new view in the New View Name: field.
- Click Copy View.
NOTE: If you have more than one view to copy, repeat Step 4A through 4C.

- Click Edit Views to open the view properties and edit as needed.
NOTE: Security filters must be updated and tested for the newly copied view.

OR
Click Close to leave View design mode.
Editing an Existing View
- Select the SecureSheet from your home page.
- Click Views. This puts you into View design in the Edit mode.
- Select the view you want to work with from the Select a View: drop-down.

- Modify the view properties as needed.
NOTE: If you want to change the name of the view, update the View Name: field. When you click Save View, the view name will be updated everywhere you see it in the SecureSheet.
- Click Save View to save any changes you make to the view.
- Click Close to leave View design mode.
Deleting a View
- Select the SecureSheet from your home page.
- Click Views. This puts you into View design in the Edit mode.
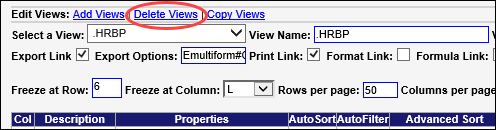
- Click Delete Views.
- Select the view you want to delete from the Select a View: drop-down.
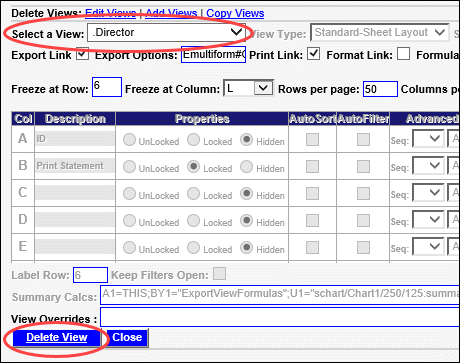
- Click Delete View to save any changes you make to the view.
- Click Close to leave delete view mode.